Návod pro agentury
Jako agentura rezervuješ tvůrce jménem svých klientů. Tento návod projde cestu jednou: nechat se aktivovat, přijmout klienty, založit kampaň, rezervovat, odevzdat zprávu a vyúčtovat provizi. Obrázky pocházejí z běžícího systému.
Tento návod jako PDF1. Jak se stát agenturou
Agentura má u creatordeal dvě strany: prodejní účet v panelu tvůrce — přes něj běží vyúčtování — a zákaznický účet v obchodě, kterým rezervuješ pro své klienty. Obojí se jednou propojí a provozovatel aktivuje.
Krok 1.1
Co u nás agentura smí
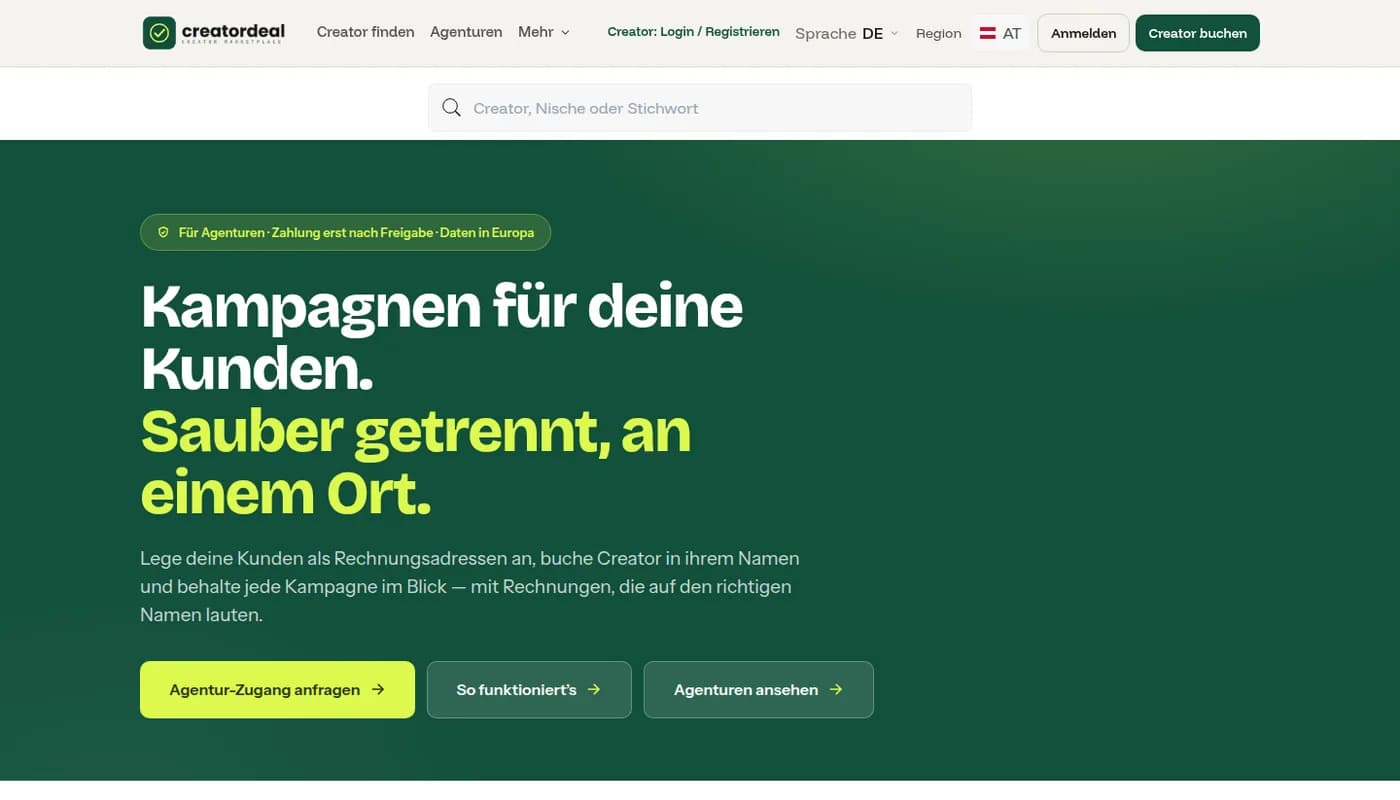
Veřejná stránka „Pro agentury“ vysvětluje model a vede k registraci. Rezervuješ tam, kde tvoji klienti stejně jsou, držíš faktury odděleně a dostáváš podíl na tom, co creatordeal vydělá na zprostředkované rezervaci.
Krok 1.2
Podat žádost a nechat se aktivovat
V zákaznickém účtu pod „Stát se agenturou“ zadáš e-mailovou adresu svého prodejního účtu a podáš žádost. Provozovatel ji posoudí a stanoví tvůj podíl. Poté na téže stránce stojí „Jsi agentura“ — a pod tím se objeví tvoji klienti.
2. Správa klientů
Klient se objeví v tvém seznamu, jakmile tě pověřil — přidá tě ve svém účtu pod „Moje agentury“ — nebo jakmile jsi pro něj založil rezervaci. Oprávnění může kdykoli odvolat.
Krok 2.1
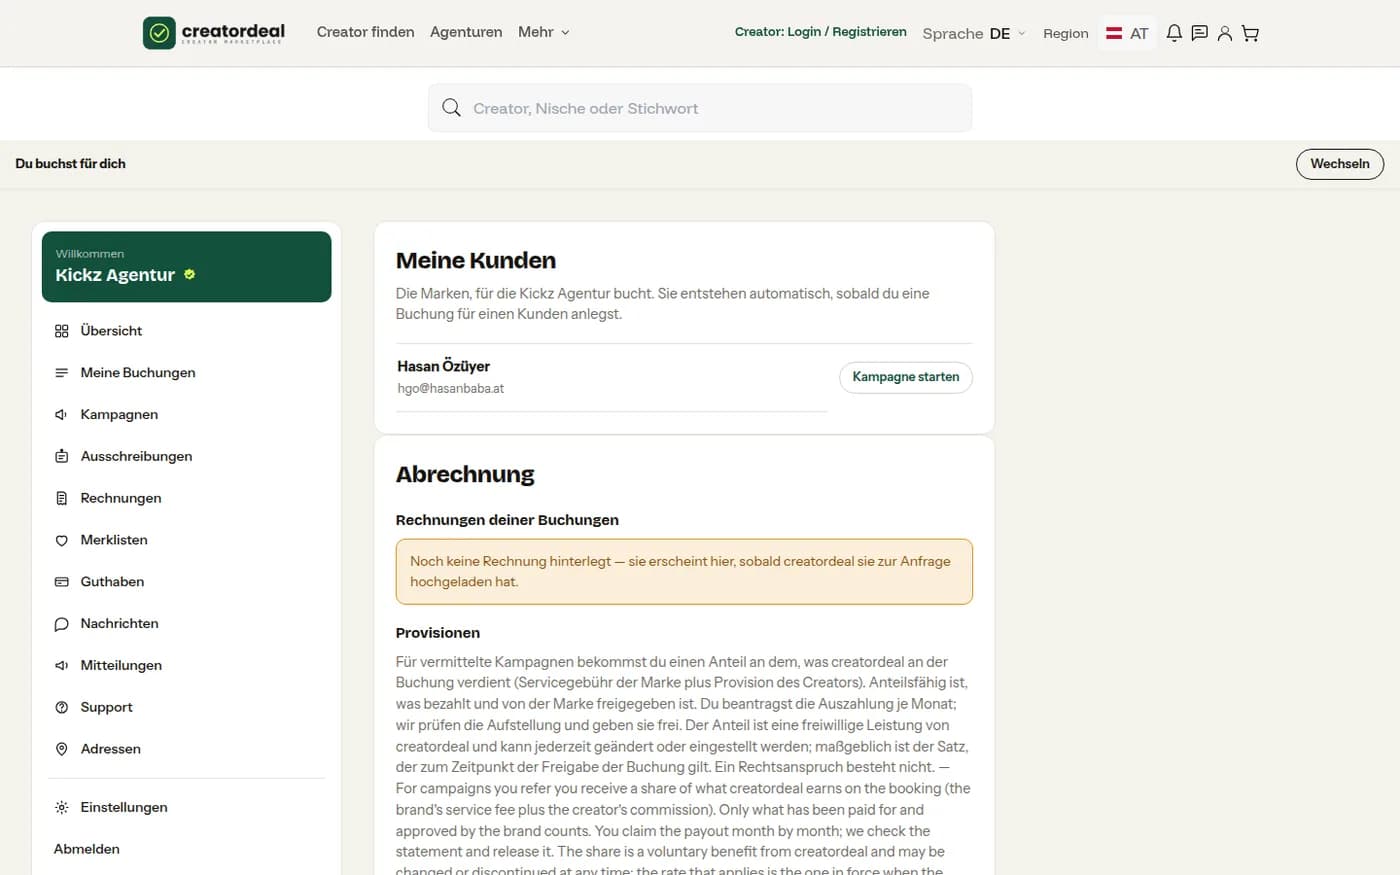
Tvůj seznam klientů
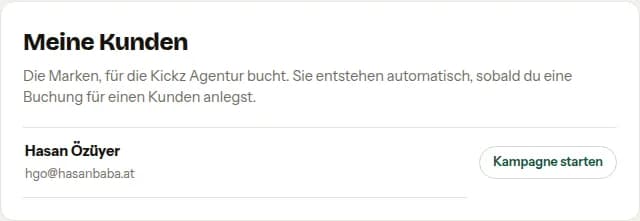
Pod „Spravovat klienty“ jsou všechny značky, pro které smíš rezervovat, s jejich e-mailovou adresou. Každý řádek vede k rezervacím daného klienta.
Krok 2.2
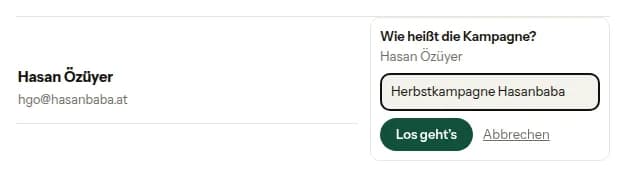
Spustit kampaň pro klienta
Před první rezervací dáš kampani jméno — třeba „Podzimní kampaň“. Vše, co pak rezervuješ, visí na této kampani; klient později najde všechny tvůrce jedné kampaně pohromadě.
3. Rezervovat jménem klienta
Dokud kampaň běží, rezervuješ pro tohoto klienta. Lišta nad každou stránkou obchodu ti kdykoli říká pro koho — aby nic omylem neskončilo na tvém vlastním účtu.
Krok 3.1
Lišta ukazuje, pro koho rezervuješ
Nahoře stojí buď „Rezervuješ pro sebe“, nebo běžící kampaň s klientem. Přes „Přepnout“ skočíš k jinému klientovi nebo zpět k sobě.

Krok 3.2
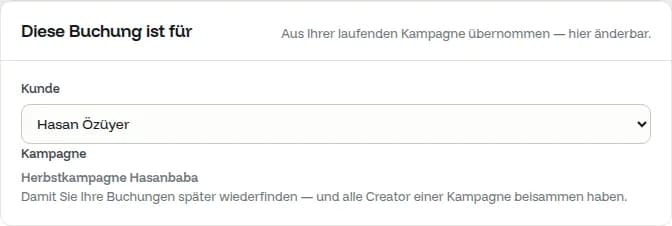
V pokladně stojí klient
Blok „Tato rezervace je pro“ přebírá klienta a kampaň z lišty — a lze ho tu ještě změnit. Faktura jde na adresu zvolenou níže.
Krok 3.3
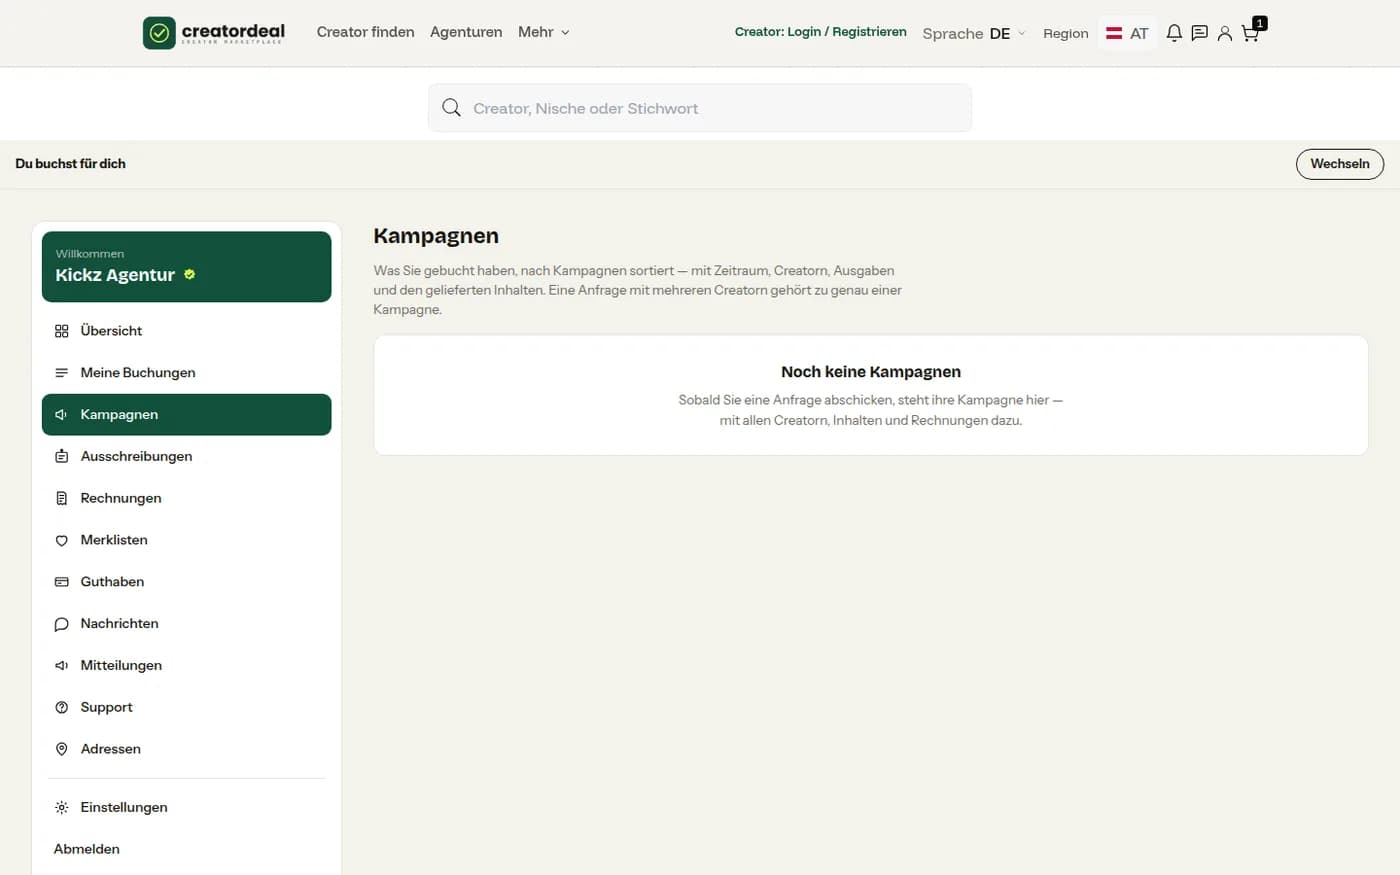
Mít kampaně na očích
Pod „Kampaně“ vidíš u každé kampaně všechny rezervace, jejich stav a doklady. Odtud lze později prodlužovat práva k užití, aniž bys hledal jednotlivou rezervaci.
4. Odevzdat zprávu o kampani
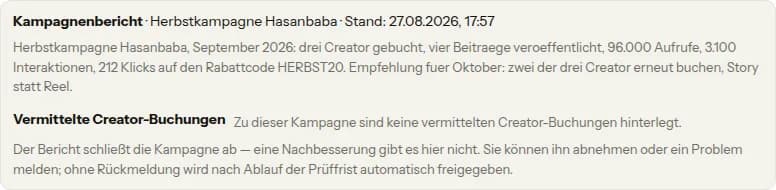
Agenturní balíčky nedodávají odkaz ani soubor, ale zprávu. Ta je dodávkou: teprve když ji klient schválí — nebo uplyne kontrolní lhůta — je tvá práce uvolněna.
Krok 4.1
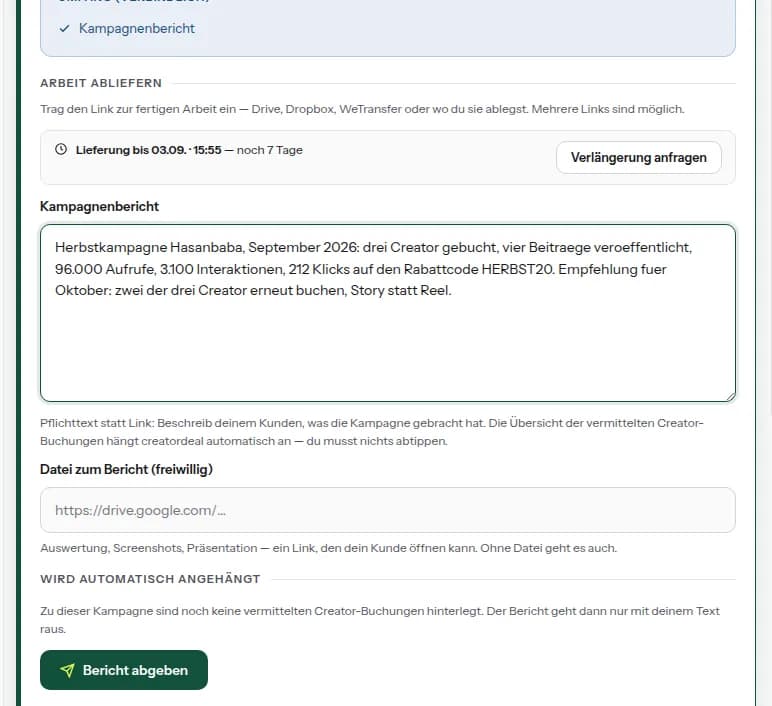
Napsat zprávu
V zakázce je místo pole pro dodání zpráva o kampani: co proběhlo, co to přineslo, co doporučuješ. Soubor — analýzu, snímky, prezentaci — můžeš přiložit, ale nemusíš. Přehled zprostředkovaných rezervací tvůrců přikládá creatordeal sám.
Krok 4.2
Takhle ji vidí klient
U klienta je zpráva v jeho poptávce, s datem a seznamem zprostředkovaných rezervací. Oprava tu není: klient schválí, nebo nahlásí problém.
5. Vyúčtovat provize
Za zprostředkované kampaně dostáváš podíl na tom, co creatordeal na rezervaci vydělá — servisním poplatku značky a provizi tvůrce. Počítá se, co je zaplaceno a značkou uvolněno.
Krok 5.1
Přehled v zákaznickém účtu
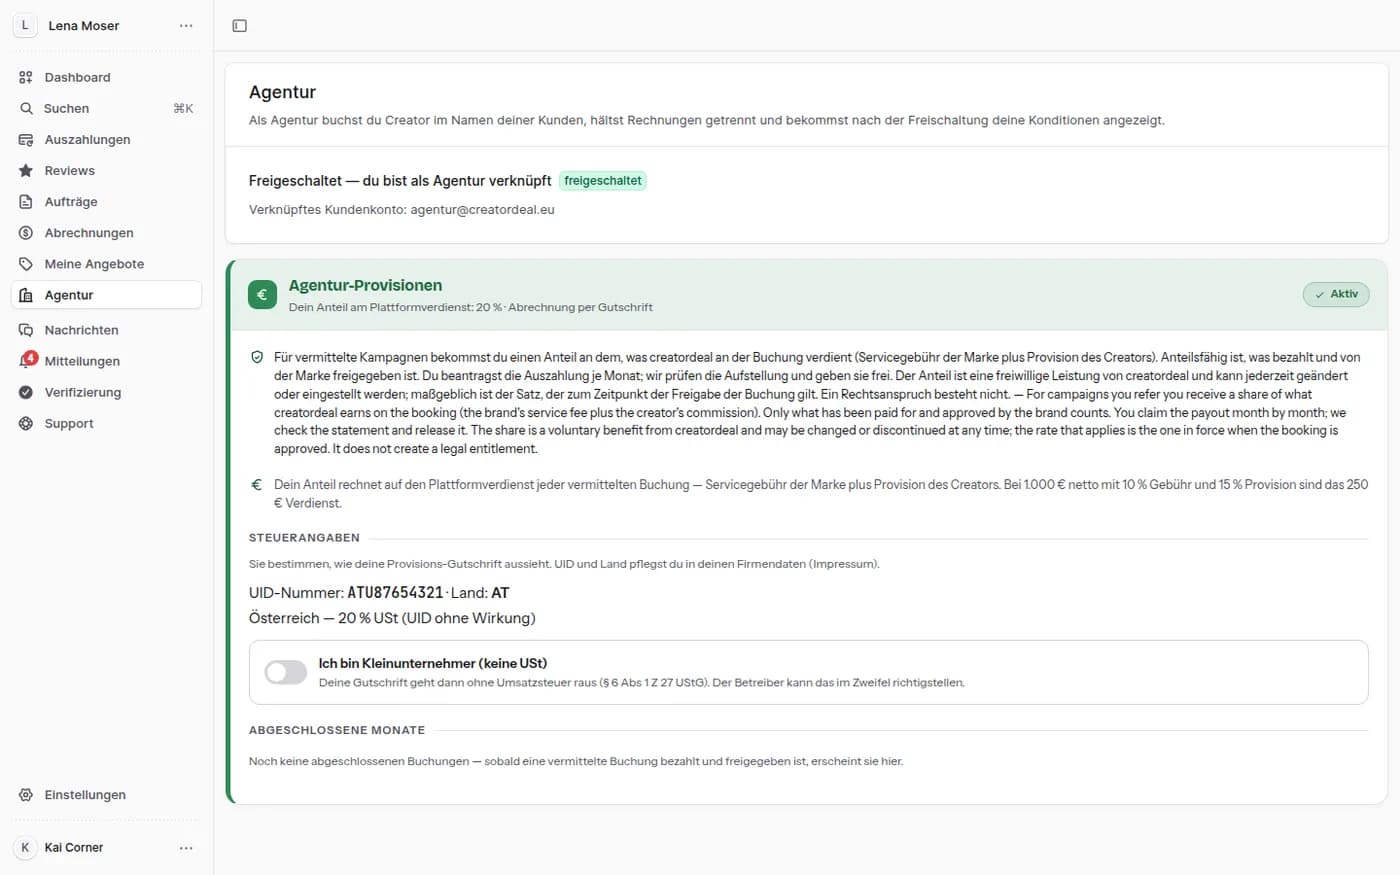
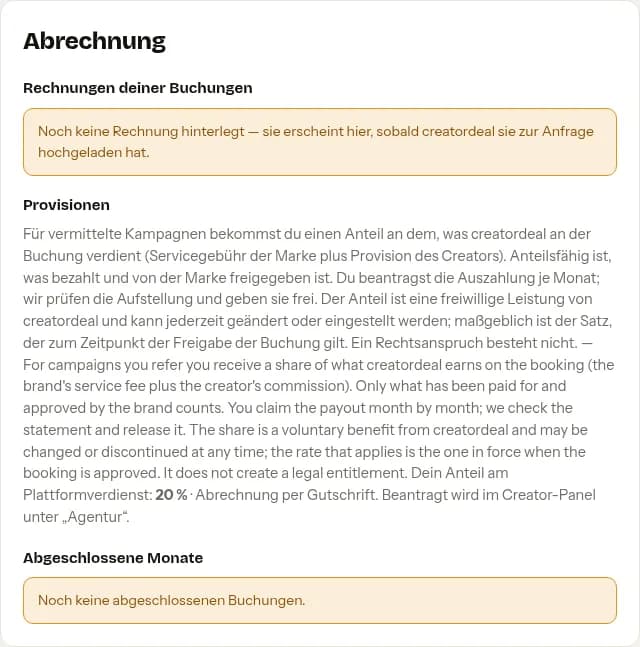
V sekci „Agentura“ vidíš běžící měsíc, uzavřené měsíce a stav svých žádostí — plus svou sazbu a dohodnutou cestu: dobropis od nás, nebo faktura od tebe.
Krok 5.2
Žádat v panelu tvůrce
Žádá se v panelu pod „Agentura“. Tam jsou i tvé daňové údaje — DIČ, země, přepínač neplátce — které putují na dobropis. Po žádosti provozovatel zkontroluje výkaz a uvolní ho.